3D-Game Development: Get Started With Unity
Hola, I’ll be now starting the 3d game development series using the unity software. Unity, the world’s most popular development platform for creating 2D and 3D multiplatform games and interactive experiences. Let’s start
Requirements
Make sure you have satisfied the hardware and software requirements to have installed unity in your machine.
- OS: Windows 7 SP1+, 8, 10, 64-bit versions only; Mac OS X 10.12+; Ubuntu 16.04, 18.04, and CentOS 7.
- GPU: Graphics card with DX10 (shader model 4.0) capabilities.
Installation
Unity has very documentation of installing the software in macOS, Linux, and Windows. You can find the installation guide by clicking here. Follow, the steps mentioned in the documentation of the Unity.
Let’s Understand Interface
When unity first opens, you’ll see a window that looks as follows.
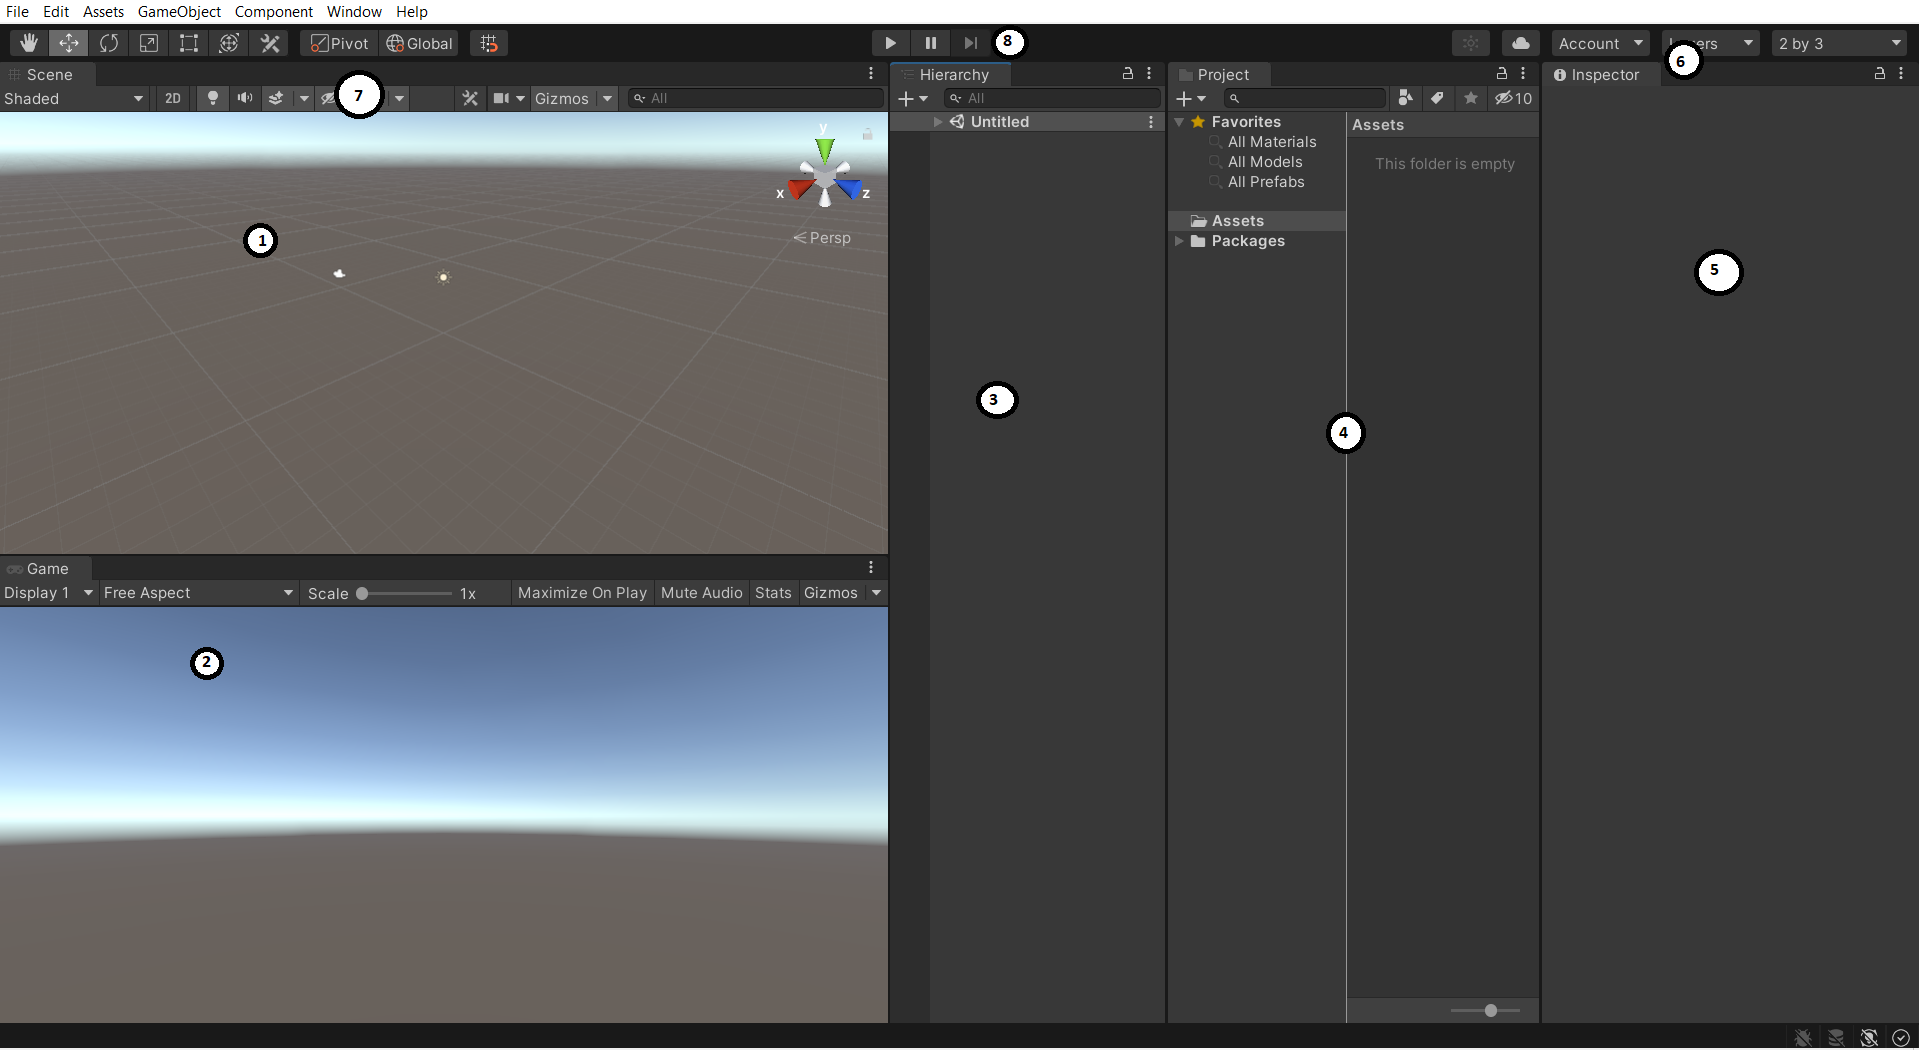
1. Scene View
Scene View is where one can construct the game. It includes all the components such as the camera, all 3d models, and more components. It is 3D windows where one can visually place all assets.
2. Game View
Game View represents the player’s perspective game where one can play the game and see how all the various mechanics work with another. There are several aspect ratios in which the game view allows to play a particular game in that aspect ratio which allows making sure all the components are visible.
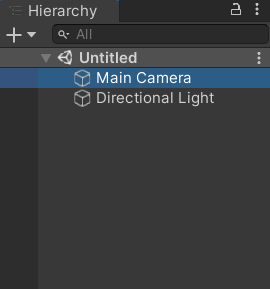
3. Hierarchy Windows
It includes a list of all current objects of the game such as camera, the floor of the game i.e. plane object, 3d models, emits light object. These objects are called as GameObjects. GameObjects are also acting as folders, containing other GameObjects, which make useful for organizing scene. A scene is a single level of the game in which GameObjects are placed. That objects will be visible in Hierarchy Windows.
4. Project Window
It contains all assets used by our game. We can organize assets in a folder. If one can import assets in-game then they can be included simply by dragging them into Scene View.
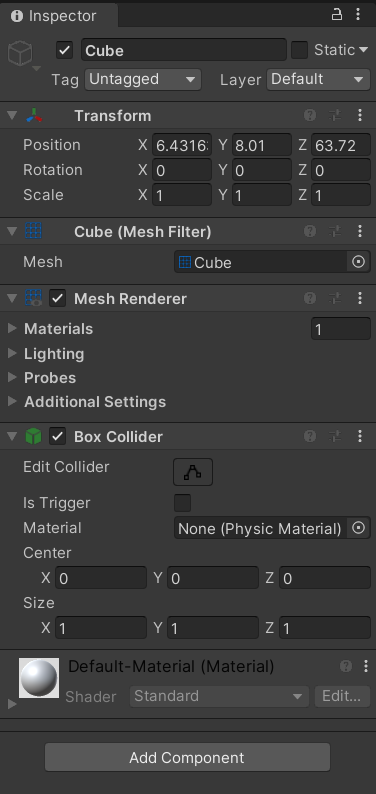
5. Inspector Window
It is the main controller of the GameObjects. When assets are selected from the hierarchy window, Inspector will list all the GameObject’s components and their properties. For example, a simple 3d cube has the following properties in the inspector windows.
6. Toolbar
The toolbar can be used to manipulate various GameObjects in the Scene view. It has various options to move objects, expand objects, rotate objects, and much more functionality. We will understand every component while developing the game.
7. Play Buttons

These buttons let you play, pause and step the currently developed version of the game. Play button lets you play the game. Next to the play button is the Pause button which stops the game and the button next to it is called as Step button. This button lets you step through the game one frame at a time.
Let’s Import Basic Cube Model in Scene
Load the Cube to SceneView by going in the GameObject -> 3d Object -> Cube. It will automatically import cube assets to the scene view.
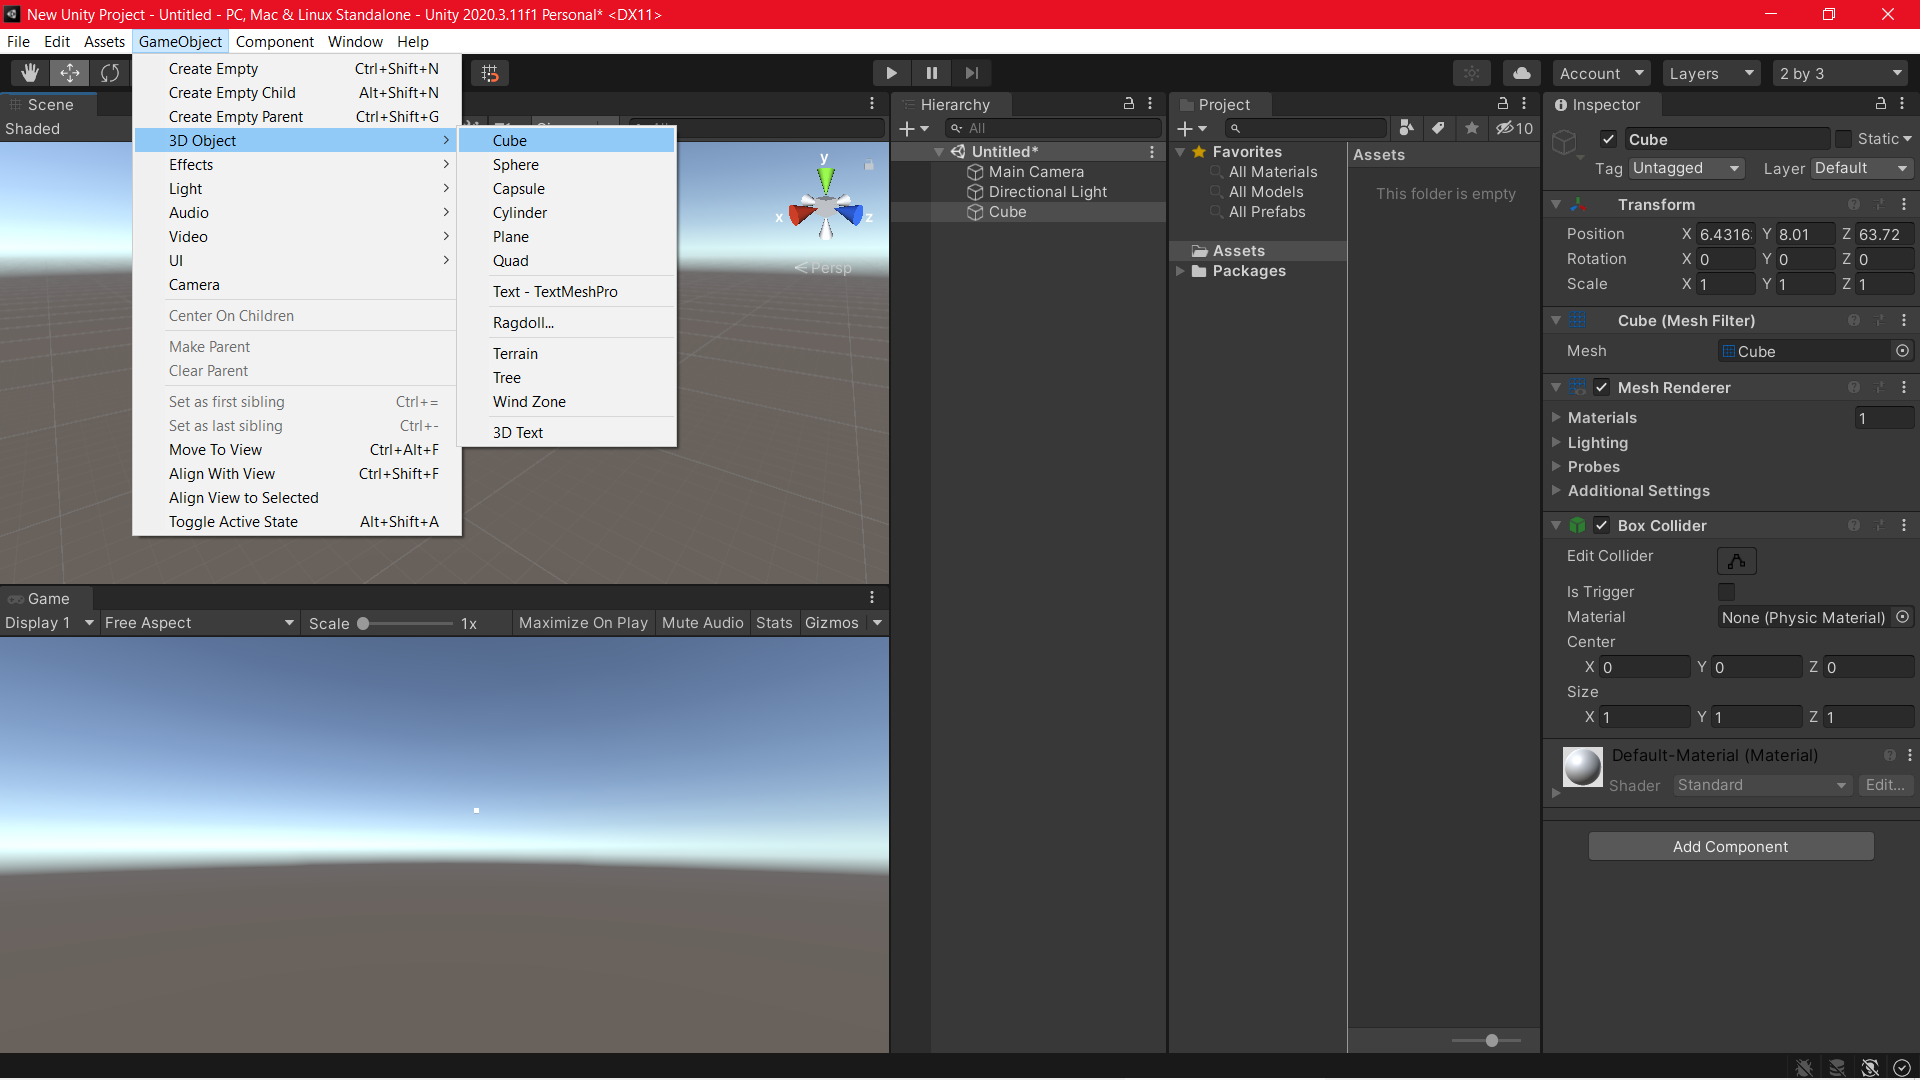
After importing, you’ll have the 3d cube in the sceneview.
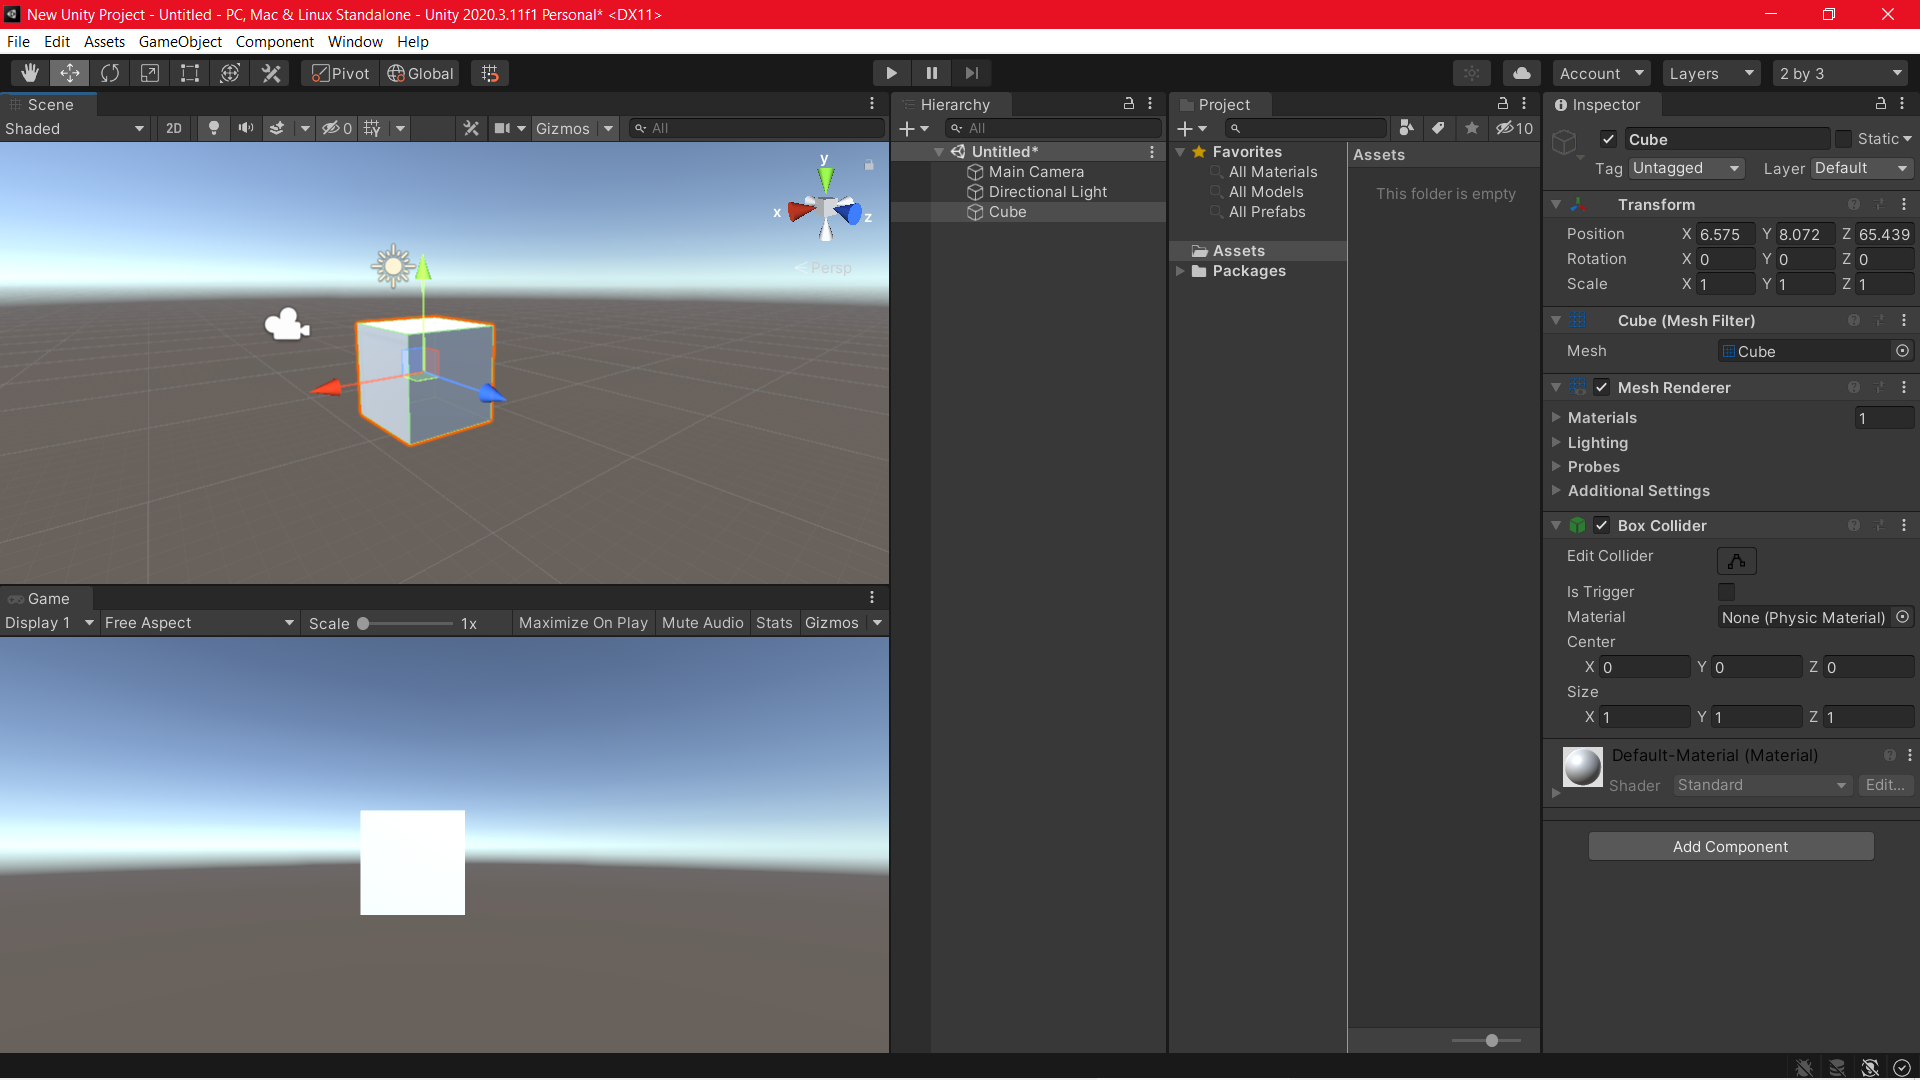
You can see the cube has three arrows coming out, they are the directions through which one can move in a particular direction, Red arrow indicates the X-axis, Blue indicates the Y-axis and Green indicates the Z-axis.
If you want to change the view in the scene view, press alt and click the left mouse button and navigate to anywhere in the scene view. Very much for this week. Next week, we will start the basic 3d game development. We will have a lot of fun. We will understand more concepts of game development.